“By failing to prepare you are preparing to fail.” – Benjamin Franklin
 If you’re planning a new look for your interior walls for 2015, take Ben’s words to heart! Before you lift a brush or roller, make sure your surfaces are well prepped.
Preparation will ensure your painting project not only looks great, but will last. By following these three simple steps you’ll have a well prepped surface for your room’s makeover while making Mr.Franklin proud!
1. Patch Any Holes in Sheetrock to Create a Smooth Painting Surface
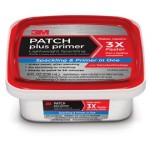 Use 3M™ Patch Plus Primer. This easy to use product revolutionizes wall repair and painting. Spackling and primer in one features nanotechnology to create professional-looking results in one step, eliminating the need to prime before painting.
- Anchors paint to wall patch
- Ready to paint in 30 minutes
- Firmly holds nails and screws
2. Fill Holes in Wood and Trim with a Painter’s Putty to Hide Imperfections
 We recommend Crawford’s Natural Blend Putty that easily and quickly fills nail holes, countersunk primed nail heads, shallow hammer marks and small cracks. Just open a can and you’ll notice a big difference immediately!
Crawford’s Natural Blend is packaged in water for extended in-can preservation. Water (a natural preservative) helps keep Crawford’s soft, fresh, pliable and ready-to-use.
3. Use a Sanding Sponge to Take the Shine Off All Wood Trim
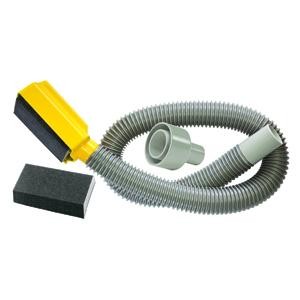 Are you still sanding the old way – with dust everywhere and bruised fingers from coarse sandpapers? You need to try the latest generation of HYDE® Sanding Sponges.
A sanding sponge can reach crevices that are hard to sand with paper and help create a surface that paint will adhere to for a long lasting finish.